Have you ever been home, at 9 PM and realize you need your nails done, and you want them done NOW?
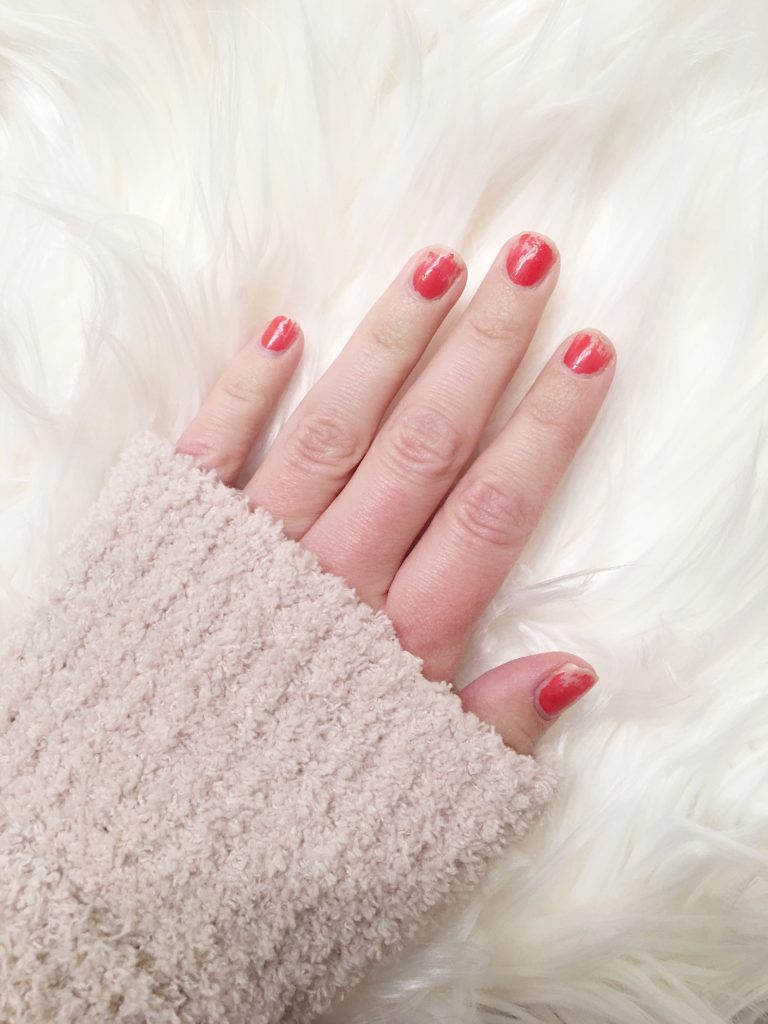
This happens to me all the time. I’m the type of person to not want to wait. When I want my nails done, I want them done now. I don’t want to have to go to the salon and wait for the next available tech. This is what my nails looked like last night.

Not cute! So, here is how I did my nails at home!
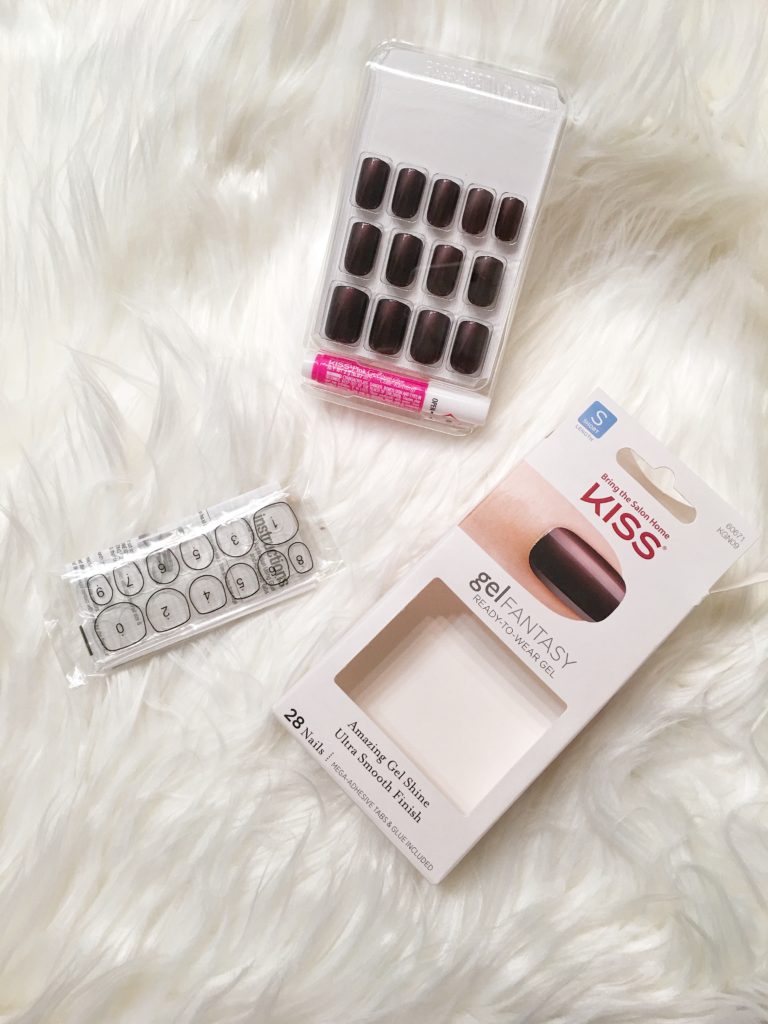
I love using these nails by Kiss to get the perfect nails at home. They are the Gel Fantasy line! These last me at least a week! I purchased mine at Walgreens for $7.99!
Here are a few of my favorites on Amazon!
Disclaimer: I do receive a small commission if you purchase through my links. Thank you for supporting Cierra Robin Blogs!
Click to shop!

Click to Shop!
Let’s Prep!
To do these nails at home, I have a few tips and tools that I use to help get the perfect, flawless look. Before I tell you about them, let me just say that I have not gone to school for anything cosmetology related. These are my personal opinions and ideas! *Underlined text is clickable to shop!

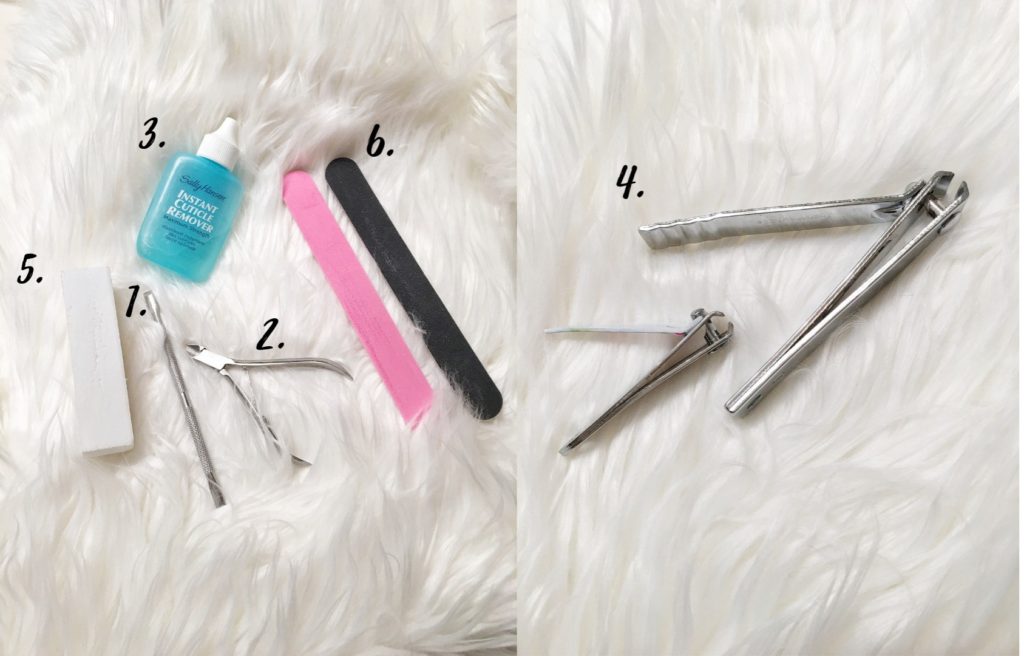
The first thing I do to my nails is remove all old polish. Then I handle the cuticles. I first use a cuticle pusher (#1) to push back all of my cuticles. Once this is done, I use my cuticle trimmer to trim the cuticles off! (#2).
Once I’ve clipped as much of the cuticle as I can, I use my Sally Hansen Instant Cuticle Remover (#3). I apply this to each cuticle and let it sit for 30 seconds. I then wash my hand and dry them.
Before I apply the fake nails, I like to cut down my natural nails (#4). This is totally personal preference. After that, I usually buff my actual with a nail buffer (#5). This I feel helps the glue have a rough surface to attach to.

One of my favorite thing about these nails is they come with glue! Each time I do my nails, I use new nail glue to ensure it’s not dried out! They also come with sizing stickers, I have never used them.
Let’s Choose Our Nail Size!
Once my nails are trimmed and ready, I select the nails that fit my hands. This is tricky for some but if you follow these tips, you will have no issues!
- Make sure you select a nail that fits over the entire nail, but not over the skin. If you select a nail too big, it won’t look natural, too small won’t look natural either.
- Look at the sides of your nail while testing the fake nails, make sure the fake nail just barely covers the sides of your nails. Again, too big of a nail will cover too much and won’t look natural.
- Lastly and obviously, make sure you’re orienting the nail correctly. The rounded part goes at the bottom near the cuticle.
I always lay all of my nails out in order of applying them. I usually start with my non-dominant hand, apply all the nails, and then switch to the other hand.
Let’s Apply!
My tip when applying nail glue is to apply it directly to your natural nail, enough to cover most of the nail but not getting close to the cuticle or skin around your nail. Once you put the fake nail on, the glue will spread.
Apply the nail glue to only one nail at a time, then slowly lay the fake nail onto the glue, slide it slowly down to your cuticle to get a close fit. This will help it look natural and flawless!
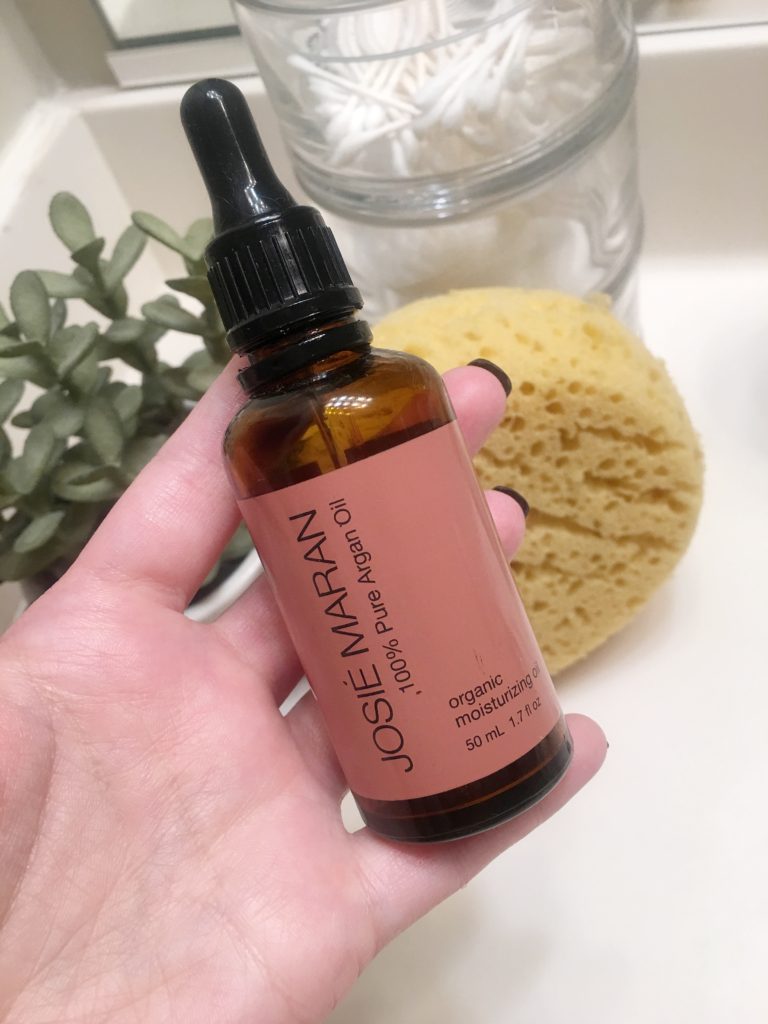
After you have applied all your nails, wait 5 minutes to ensure the glue has dried. Then I use nail files to achieve the perfect shape! I love using Josie Maran 100% Pure Argan Oil on my cuticles once I’m finished to keep them nourished.

I hope this inspired you to try out DIY nails at home, try it out for Valentines Day!! Be sure to tag me on your Instagram photos if you try this out!


